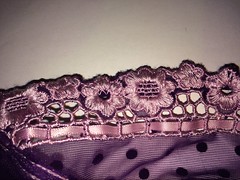
I bought this bra last week from Bare Necessities, because I noticed that my 30DD Cleo Darcy was currently too small. When I first bought it, it fit. Technically it may have been too small, because the lace was flat, and not ‘puckered’, but I wasn’t quadding out of it. I did originally have the 30E, but I returned that because at the time the cup felt too wide & the wire was poking me. My how times have changed. I reviewed the 30E around this time last year, and the 30DD in April of last year.
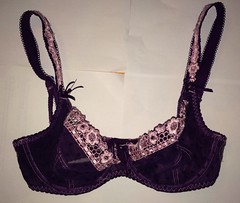
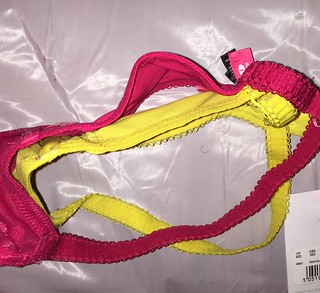
Anyway, I really always wanted the black Juna, because it’s a black bra, and will pretty much go with anything. Obviously, my choice would have been to get the correct size (30E), or 1 sister size up (32DD), possibly down (28F), but not 2 band sizes up. But when I was on bare necessities, they only had black in 34D, so I bought it. I figured if by chance it didn’t work out, I wouldn’t have an issue reselling it (because it’s black, and it was only $17).
This review may be long; I’m going to talk about the way it fit when I first got it, the alterations I did, and how it fit after the alteration.
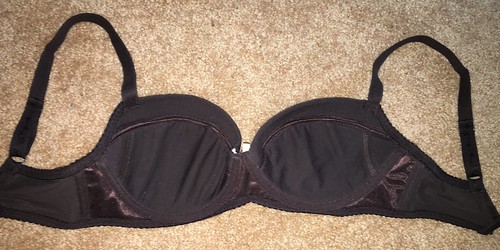
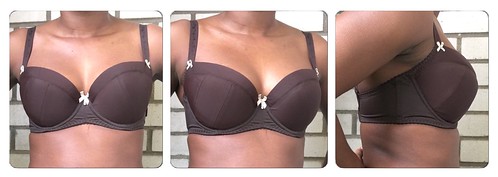
When I first got it:

The unstretched band measurement was 26.5 inches- my breaking the tape measurement. But stretched the band was 30.5 inches, which is small for a 34 band, but too big for me. Naturally when I had the bra on the band rode up, and it felt too big, even on the tightest setting. I’m not one that needs a very tight band, but this was too loose.
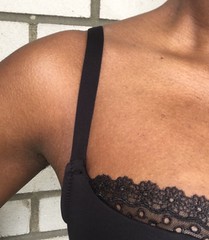
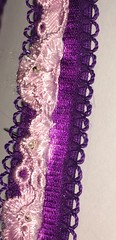
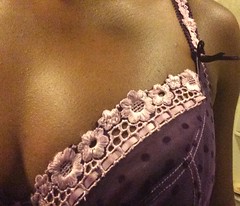
The straps were almost halfway adjusted, but I still felt like I needed to angle the straps inwards to get some stability- tightening the straps further would have made them dig in. The straps are the perfect width of half an inch.

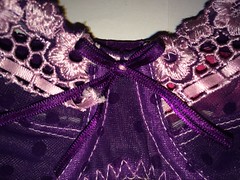
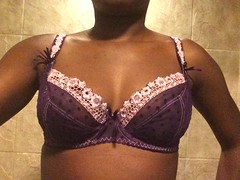
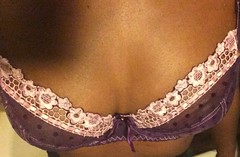
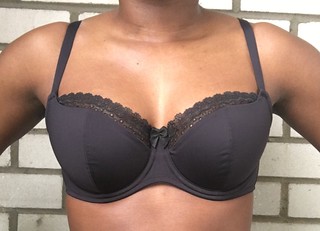
The gore is 2.5 inches high, and almost an inch wide. Too wide for me, but I don’t think it looks too wide. The bottom of the gore was not touching my skin, you can best see this in the frontal pic.

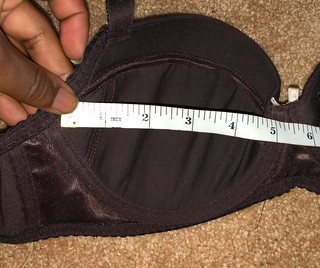
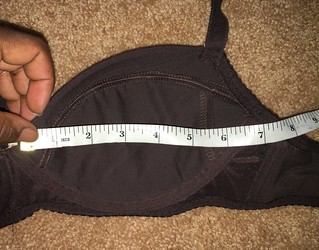
The cups fit, with a width of 5.25 inches, and a depth of 8.25, it’s perfect, but since the band was so big, my swoop and scoop wouldn’t stay and after a few minutes the wire was sitting on tissue.

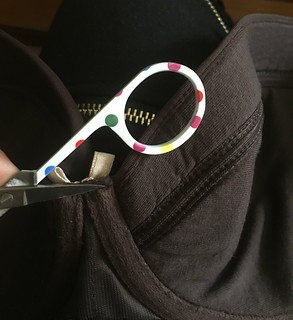
The alteration:
Initially I was going to alter this bra by adding ribbon to the band to keep it from stretching too much, but I did that, and it seemed to not really work. The band was still loose, and it still rode up. I was however, able to loosen the straps a bit. I didn’t take pics of how it looked, because I wasn’t happy with the alteration. So, I ended up altering the band similar to how I shortened the Marcie, but instead of folding the fabric over, I just let te extra fabric hang. My reasoning for this was, when I altered the Marcie, it was okay when I first put it on, but after some time the altered part became painful. So I ended up not really wearing the bra after altering it, and I didn’t want to re-alter it.

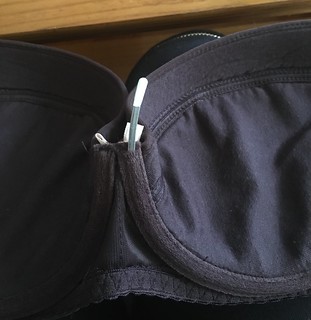
What I did to get a good band size, was put the Juna on top of a 28E Mimi.

I pinned the Juna on top of the Mimi where the side seam was and near the elastic/closure.
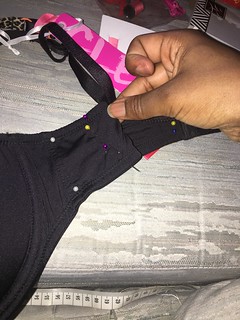
I then pinched the excess and pinned in. Then I sewed it down. This took probably 10 minutes or so. I did try the bra on before sewing it to see if it was okay, and it was. After the alteration was complete, the bra fit perfectly.
*If you’re wondering why I don’t alter bras in a more permanent way, it’s mainly because I’m too lazy. For the last 3/4 years, I haven’t used any of my sewing machines. I just don’t have a desire to. I used to hem a lot of jeans keeping the original hem in tact, and alter a lot of my clothing. (I actually have a tutorial on how to do that, somewhere on the internet). If this was a few years ago, I’d have the desire to permanently alter a bra.

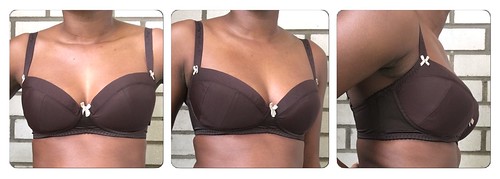
After

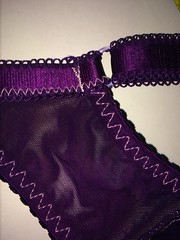
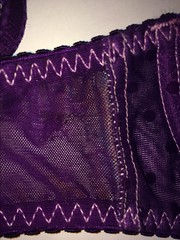
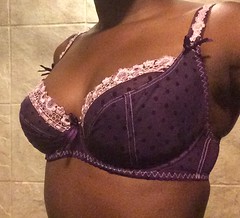
The band unstretched measures 23 inches, and stretched it measures 26.5 inches. I probably should have made it a little looser, but I was able to wear it without an issues. As you can see the excess material is visible when worn. It doesn’t bother me. The band no longer rides up.

I forgot to take the picture when I was outside
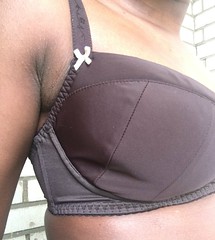
So now that the band fits, the cups fit a lot better, although the lace on my breasts lays flat. I think that because the band only stretches to 26.5 inches that the wires are distorting a bit. The bottom of the cup fits perfectly, it’s not too shallow for me. The depth ratio for this particular bra is 1.6, so on the scale of deep to shallow (from ABTF) it’ has “average depth”

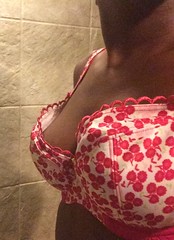
You can see there is some cutting in/slight quadding.

The gore tacks. the bottom of it also tacks. It is sitting on tissue, and for most of the time it didn’t seem to bother me. It’s only wearing after 8 hours or so that it may start to bother me.

The wires go around my breasts perfectly. I I initially thought the wires were a hair too wide, but they followed my root.
I was able to let out the straps more, so they feel very comfortable, and I was able to wear them in the correct position- not angle inward.

Before

After
I love this bra, and I’m happy that it fits now. I do wish I could have bought it in 30E or 28F. I do have another Juna in 28F, and a sister cut Cleo Martha 30E on the way, so I’m happy to be getting some with smaller bands.
Have you tried Cleo Juna, or any sister cuts? How did you like them?
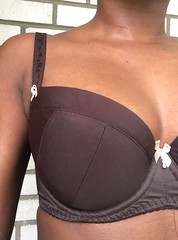
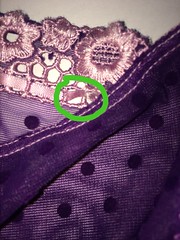
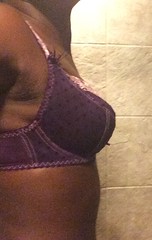
 As you can see, the wires are definitely in a plunge shape.